Yeah, I know…completely different than anything you have heard or seen…
I guess I am a rebel. Or lazy. Maybe a little of both. Whatever the case, this works, and once you get the hang of it, it will save you time and frustration when decorating cookies.
This is a visual example of “Oh, @#*! Icing {view post here}
I most often use this when I have waited until last minute do work on a set of cookies, but it also works for achieving certain textures and effects.
This first video is what I call the 20-second rule.
According to our tests it’s really the 19.7, 19.4, and 19.9 rule, but for ease we’ll go with 20…
When you are watching this, pay attention not only to the rate at which the line dissapears, but also the icing as it drops back into the bowl. It’s thicker than normal flood icing. The recipe I use can be found {HERE}
‘
Now that we’ve covered thickness, I want to show you HOW I get the icing into the bottle. You know those measuring cups and mini-spatulas I’m always pushing on you? This is EXACTLY why I hoard them. They WORK!
Now to the decorating. When you use this type of icing, it’s all in the order that you work. It’s a little hard to explain, so just watch. This is step 1.
After this, wait a while. Twenty minutes, thirty…watch a show. You’ll save so much time not filling bags, you can find all kinds of things to do.
Finally, move on to step two. {Some cookies will require three}.
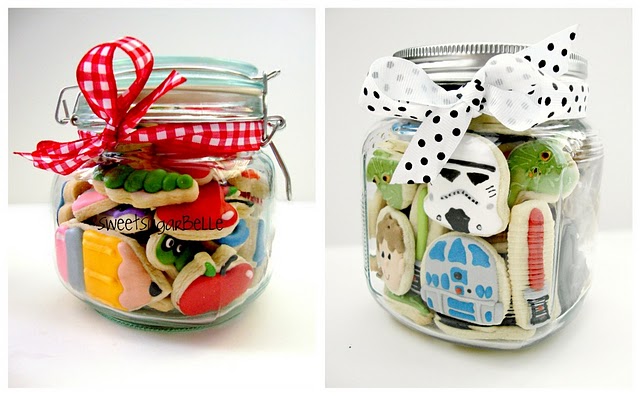
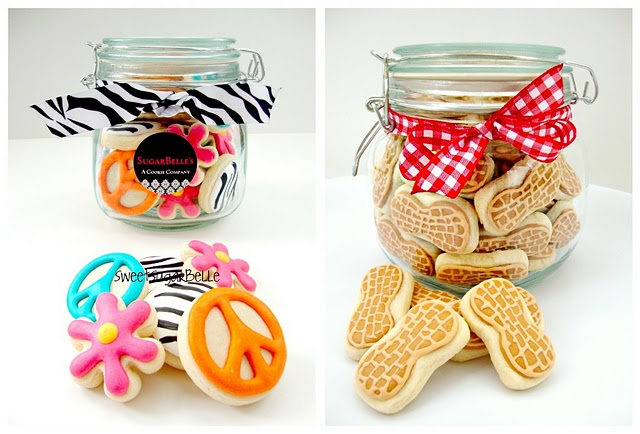
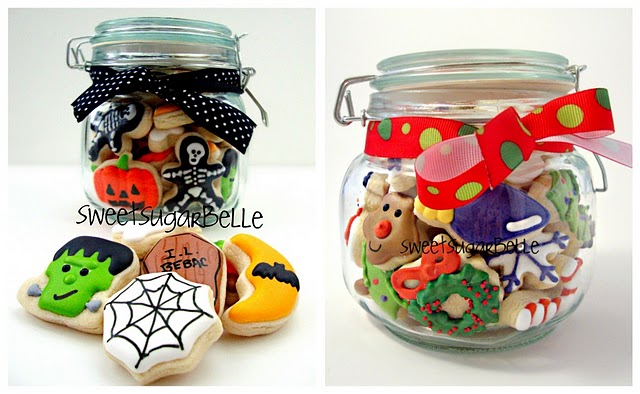
When the cookies are complete, give them the normal 6-8 hour drying time, and you’re done. You can use them to top cupcakes OR I LOVE putting mini cookies into jars and giving them as gifts! They are SOOOOO cute!
*Icing bottles can be found at Karen’s Cookies, Fancy Flours, Country Kitchen, Global Sugar Art, or even Wal-Mart.
*I use the Wilton recipe for my RI. http://sweetsugarbelle.com/2011/04/the-twenty-second-rule/


No comments:
Post a Comment