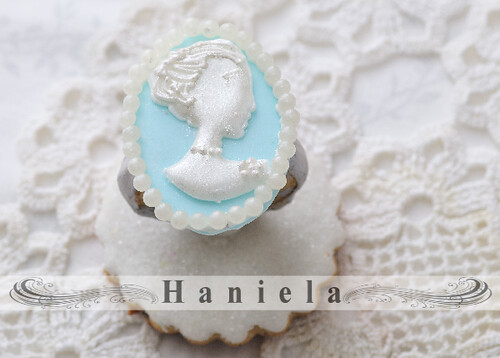
What is Cameo?
I've been fond of Cameo designs ever since I can remember.
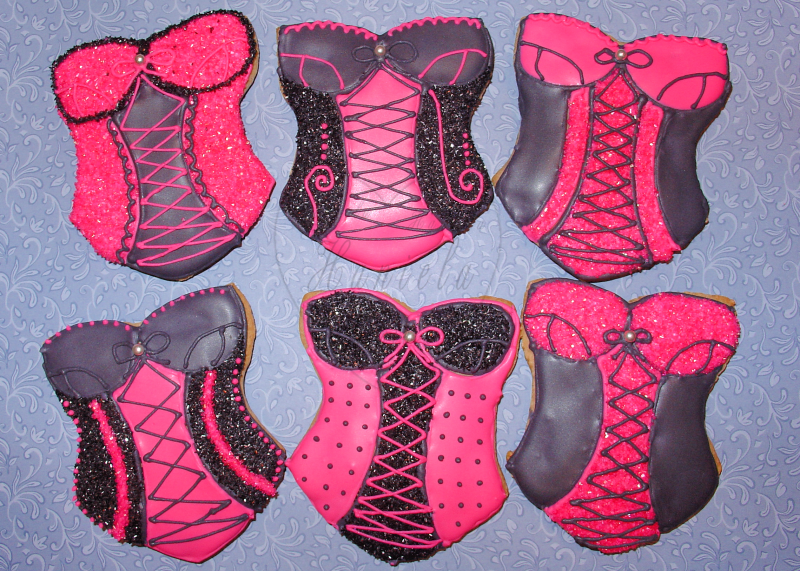
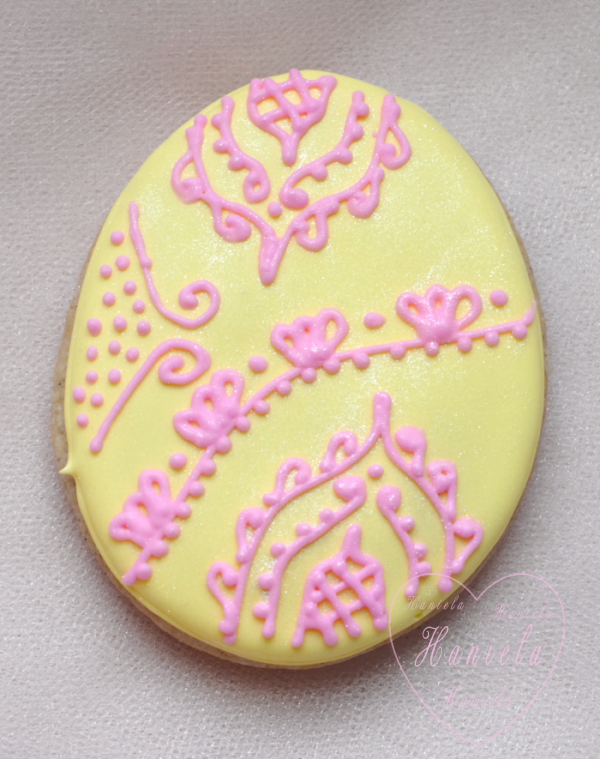
This past week I felt inspired and made my first
Cameo Cookies using royal icing transfers. I was playing with color combination and decided to go with neutral grey and pink. I think it came together quite nicely.
Here is a special tutorial I prepared. Enjoy.
What you need:
royal icing (
recipe)
piping bags, tips 1,2,3 (you can also use parchment cone, or a sandwich bag if you like)
pieces of wax paper
template
luster dust(optional)
lemon extract (83%)(optional)
small soft brush(optional)
baked cookies
1.Step - just like with any royal icing transfer you need a template, I had several templates already from the time I made a
Cameo Cookie Ring
2.Step -attach a piece of wax paper over the template, secure the wax paper in position with a paper clip.Pipe the outline using outline consistency royal icing and then using flooding consistency icing flood the inside of the outlined image. Let dry several hours.
3. Step -once dry you can now either add more details, like hair, necklace etc, or you can leave it plain. I left the royal icing transfers plain, using pink luster dust mixed with some lemon extract I painted the royal icing transfers.
(
How to use luster dust?)
4.Step - have your baked cookies on hand.You can use your favorite cookie recipe. Sugar recipe I use the most can be found
here.
Flood the cookies with icing. I used grey tinted royal icing. Let icing on cookies dry completely.
5.Step -once the icing on cookies has dried completely, you can now attach your royal icing transfers on the top of the cookie, simply peel of the wax paper, and pipe some royal icing on the back of the royal icing transfer and attach it to the cookie.
6. Step - I played with the design a little, decided to use edible pearls all around the cookie, you can attach them with a dab of royal icing, use tweezers to attach pearls on the cookie , or you can pipe tiny dots all around the cookie.
I actually prefer tiny dot over the pearls in this case.
7.Step - at last I decided to add a little fondant flower, using a dab of royal icing attach the flower.Flower was made from marshmallow fondant (
recipe), using a tiny flower cutter from the
CAMEO COOKIE :


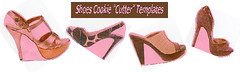 Shoes Cookie "Cutter" Templates


