Labels

"Погребок"- заготовки на зиму(canning) (82) Afternoon Tea-recipes and tradtions (41) All about Sushi rolls and more (2) appetizers (61) Baby Shower (2) Barbecue (45) Beauty (29) Bread and pizza (67) Breakfast Sunday Brunch (18) Bridal Shower and Wedding (8) burgers sandviches and toasts (22) Cake decorating and gum paste flowers (144) Cake pops and balls (35) cakes (197) canning (31) cheesecakes (31) Chocolate (38) Christmas (102) Coffee and Latte Art (22) Coffee cakes pies sweet breads (74) cookies (226) Cupcake Muffin Пирожное (62) Decorated cookies tutorials (48) Decorating Easter Eggs (19) Dessert (46) Easter (52) Easter and Spring (29) eggplants (3) eggs (11) Father's Day (4) Fish and seafood (30) French cooking (14) fresh fruits (6) gingerbread (68) Healthy Eating (32) Homemade gifts (3) Hапитки (30) Italian food (39) jams and jellies (33) Jello salads and desserts (17) Kашки (4) Kонфеты и другие сладости (42) Kремы-Buttercream-Frosting (4) Kрымские блюда (14) Main course (36) Main Dish (53) meringues зефир marshmallow pastilage (40) Mexican-Spanish food (34) Mothers Day (7) Mяско (59) Nutella (5) Olive Garden recipes (3) oranges (3) Oriental food (8) Oформление салатов (41) Pasta (16) plums (2) Potluck (6) Poultry (31) pumpkin (19) Pецепты Джейми Оливера (5) Pецепты Сталика Ханкишиева (37) Quinoa (5) Risotto Jambalaya Плов Paella (27) salads (123) Sauces Dips and Spreads (38) Saving money in the kitchen (4) Side Dish- гарнир (15) Slow-Cooker (9) soups (105) Summer recipes (12) Table setting etiquette(Сервировка стола) (67) Tagine-cuisine of Morocco (13) Thanksgiving and Fall (46) Tатарская кухня (6) Tесто (17) Valentines Day (36) Video-рецепты (20) Блины блинчики и оладушки (44) блюда в горшочках (23) Блюда из курицы (60) Блюда из теста (56) булочки (103) Вкусности из детства (63) Вкусные местечки-Sweet places (7) Детский праздник (29) Заготовки-полуфабрикаты (44) заливное и холодец (13) Запеканки и омлеты (11) история блюд и кулинарные истории (24) Котлеты Тефтели Голубцы и Перчики (58) Мороженое-Ice Cream (15) овощные заготовки (18) пирожки чебуреки беляши и т.д. (42) Пляцок (2) рулеты мясные и овощные (36) Сосиски и домашние колбаски (26) Старинные русские рецепты (38) Творожная выпечка (13) Узбекская кухня и Среднеазиатская (66) Хворост Крепли вергуны Пончики (25)

Thursday, May 17, 2012

Raspberry White-Chocolate Scones


On Saturday we went raspberry picking at Horse Hill Farm.  I had a voucher giving me 50% off of up to 10 pounds of berries.  I highly recommend that place!  I was expecting mud and mosquitos and mess, but experienced none of that. Well, I have about 10 mosquito bites on my legs, but I didn't notice them until last night.  They have wide aisles of mown grass between the rows of canes, so there was no mud either.  The messiest we got was when Nico sat on a berry.

I picked one bucket fairly quickly on my own, then helped Kevin finish filling his bucket.  My arms were totally scratched, and I still have prickles embedded in my hands.  But it was worth it.  Next time, I'll wear long sleeves, and maybe even gloves.  Juli loved picking the berries.  If her birthday was a month later, I'd consider having a raspberry-picking party for her.  Last night, I made some scones.


Raspberry White-Chocolate Scones

2 cups of flour
1 rounded tablespoon of baking powder
1 teaspoon of salt
1/4 cup of white sugar

Mix the above together.  Add 1/4 cup butter or margarine or shortening, and mix it with a fork or pastry blender.  Stir in 1 cup of milk

Lightly mix in 1 cup of white chocolate chunks and 1 to 1.5 cups of fresh raspberries.  Drop by he spoonful onto a baking sheet.  I used parchment paper on mine, because I knew the chocolate and raspberries would stick.  I love parchment paper!

Bake at 450 degrees F for 12 -18 minutes.

These scones are so moist and delicious that you don't even need butter.  I got the idea for this recipe from Cobs Bakery, but I think mine are better.  Theirs were really dry and biscuit-like.  Yeah, I'm humble!


Edited 8/13 to add the correct oven temperature! The first batch I made (pictured) I baked at 400, which is why it took forever, and ended up slightly too moist.  the second batch was much better.   http://toaprettylife.blogspot.com/2011/08/raspberry-white-chocolate-scones.html

Strawberry Picking


It all started with these darling Berry Baskets from Bake It Pretty.
Of course, I went there to buy food coloring and ended up with berry baskets and candy necklaces in my cart (I'm not sure how that happened).

The strawberry cookies are really simple. Just a basic outline and fill in AmeriColor Leaf Green and Super Red.
The white dots are dropped on while the red flood icing is still wet.
Here's a post on getting dotty. :)

I added in a few strawberry flowers, just piped on a small scalloped circle cookie.
{Is is just me or are bite-size cookies the hardest to resist eating?}

I told Mr E. (hubby) that I was sending him to his meetings with cookies. When he saw the cute little berry baskets lined up on the table, I could see the look of panic spread across his face. Not to worry, though, the berry baskets were for MY cookie deliveries....I sent him off with cookies in a much more masculine pink bakery box.

Amanda from Bake It Pretty mentioned to me that these baskets are not "grease resistant," so I lined each one with wax paper before filling with a little paper shred and cookies.  http://bakeat350.blogspot.com/2010/05/strawberry-picking.html

Sweetheart Tarts

 
1/2 recipe Sugar Cookie Dough, at room temperature, chilled
Confectioner's sugar, for rolling
1/2 cup seedless raspberry or cherry jam
36 canned or jarred whole dark cherries in syrup, drained
Equipment: Non-stick mini-muffin tin
Preheat the oven to 375 degrees.
Sprinkle a work surface and rolling pin with confectioner's sugar and roll out dough to 1/8-inch thick. Move dough frequently to prevent it from sticking and add more confectioner's sugar to the work surface and rolling pin as needed.
Using a round cookie cutter the same diameter as the top of the muffin tin cups (about 2 inches), cut 36 rounds of dough. Gently press a dough round into each muffin cup and press evenly into the sides and bottom of the cup. Continue with remaining dough rounds. Bake until set and edges are light golden, about 10-12 minutes. Let cool in the pan completely before removing with a small offset spatula.
Heat the jam in a small saucepan over medium heat until melted. Add the cherries and stir gently to coat completely. With a small teaspoon, transfer a cherry into each tart shell and drizzle with a little more warm jam. Allow to cool and set.  http://www.foodnetwork.com/holidays-and-parties/valentines-day-cookie-recipes/index.html

Nilla Girls

This treat was born out of the failure of another.  I won't get into that long and boring story except to say that I found myself in the kitchen with half an hour on my hands and already-melted red and pink candy melts.  I looked around for something to dip and found the Nilla Wafers.

One dip in the candy melts and I knew what I had to make.  The candy looked like hair and the heart-shaped sprinkles looked like a bow.  All it needed was a face drawn on by my favorite new toy (Wilton Food Writers) and these little beauties were born. 

I had fun taking their pictures and my kids had fun eating them.


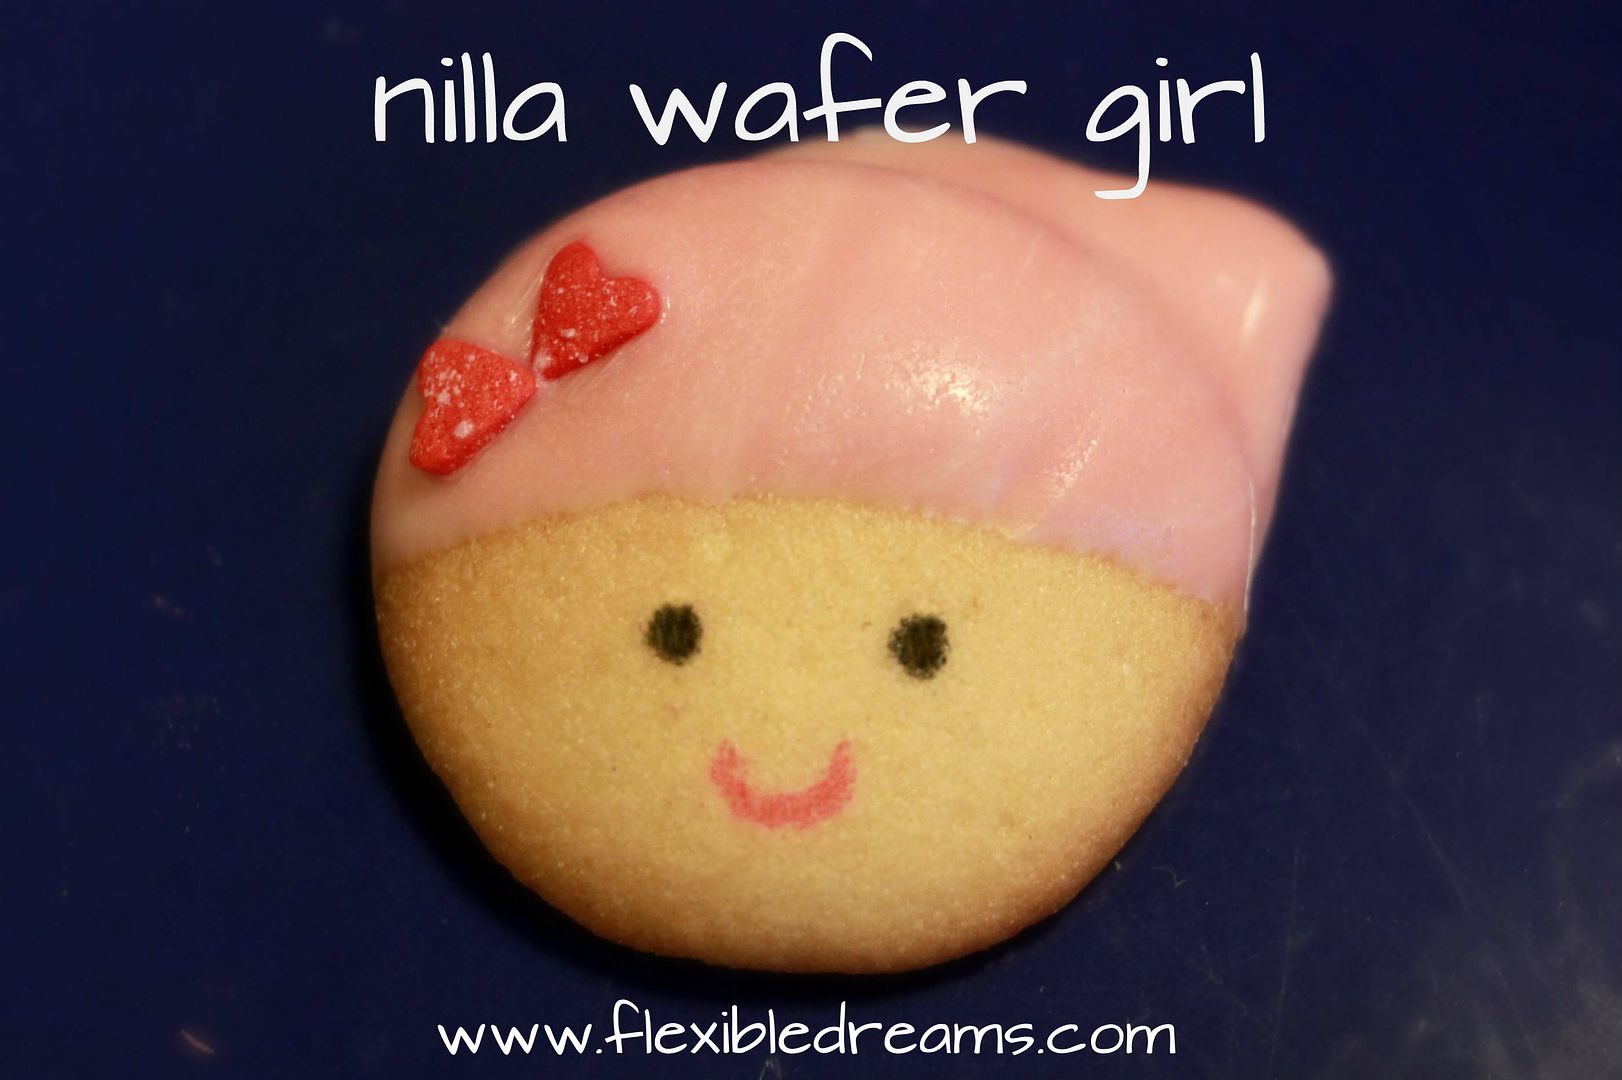
  http://www.flexibledreams.com/2011/02/nilla-girls.html

Reci-bee: Lady Bug Munchies!

If you’ve ever signed up to receive The Swiss Colony catalog, you’re probably familiar with these truffles:
Lady Bug Truffles
The Swiss Colony has had these for a few years now…and I just think they are the cutest thing…however, I’m not the biggest truffle fan.  I love me some chocolate, but the stuff from The Swiss Colony is just too sweet for me.  Therefore, I’ve found a way to make these super cute ladybugs using cookies and chocolate.
NILLA WAFER LADYBUG COOKIES:
10-15 nilla wafer round cookies
1 1/2 cup red chocolate melts
1 cup chocolate chips

1.  Melt red chocolate melts in a double boiler or in the microwave.  Cover Nilla Wafers with red chocolate and let cool completely.  Decorate the face, wings, eyes, etc. with melted chocolate chips.  Let your creativity fly.  http://thehobbeehive.wordpress.com/2011/10/10/reci-bee-lady-bug-munchies/

Reci-bee: Cute Thanksgiving Dessert Idea!

Hard to believe, but Thanksgiving is only 2 weeks away!  Here’s an adorable little treat that would be a PERFECT addition to a bowl of vanilla ice cream.  It’s a light dessert after what’s bound to be the best meal of your life…at least that’s how I feel every year!
Acorn Cookies!
Acorn Cookies:
Hershey’s Kisses, unwrapped
Round Nutter Butter snack cookies
Creamy peanut butter
Melted chocolate
1.  Twist open the Nutter Butter cookies and remove the peanut butter filling.
2.  Melt the chocolate (about ½ cup) and let cool to room temperature.
3.  Using a piping bag or a knife, place a small amount of peanut butter on the Nutter Butter cookie.
4.  Working quickly, dip the bottom of the Hershey’s kiss into the melted chocolate and attach the cookie to the kiss, peanut butter side down, so the chocolate and peanut butter melt together.  Repeat for as many acorns as you need.
5.  Place remaining chocolate in a piping bag and create little stems on top of the Nutter Butter cookies.
Toss 2-3 acorns in with a bowl of vanilla ice cream and you’re good to go!  http://thehobbeehive.wordpress.com/2011/11/07/reci-bee-cute-thanksgiving-dessert-idea/

Beehive Cupcakes

beehive cupcakes"A fun way to play up your everyday cupcake."

ingredients and directions:


  • 1 box (18 oz.) your favorite cake mix
  • 3 cups prepared vanilla frosting
  • Yellow food coloring
  • 24 pieces SNICKERS® Brand Miniatures
  • ½ cup orange STARBURST® Brand Jellybeans
  • 1 tube chocolate decorative frosting, with plain tip
  • ¼ cup sliced almonds
  • ¼ cup M&M’S® Brand Chocolate Candies
  • Resealable plastic bag
  • 24 paper cupcake liners classic
  • 2 12-cup muffin tins
  • 3 pieces construction paper, in bright, spring colors (orange, pink, green, etc.)
  • Serving tray, optional
  • Yield: Makes 24 cupcakes.
  • Prep Time: 20 min.
  • Bake Time: 21-25 min.
  • Decoration Time: 30 min.
  • Difficulty: Challenging
  • 1. Line the 2 muffin tins with the paper cupcake liners. Prepare the cake mix and bake according to the package directions.
  • 2. Let the cupcakes cool to room temperature.
  • 3. In the meantime, tint the frosting with yellow food coloring to the desired shade. Dab a teaspoon of frosting on the bottom of each SNICKERS® Brand Miniatures and place one on top of each cupcake.
  • 4. Frost the top of the cupcake, covering both the cupcake and candy. This will help support the frosting beehive.
  • 5. Spoon the remaining frosting into a resealable plastic bag. Using scissors, snip a small corner of the bag. Pipe the frosting in a spiral fashion, starting at the bottom of the hive and working your way up to the top.
  • 6. Place jellybeans randomly around the cupcake hives, and gently squeeze the chocolate frosting in a zigzag pattern on top of them.
  • 7. For the bee’s wings, place an almond slice on both sides of each jellybean.
  • 8. To serve, create flower cut-outs from the construction paper. Place the flowers on a table or serving tray, put a hive on each flower, and sprinkle with M&M’S® Brand Chocolate Candies.  http://brightideas.com/bright_idea.aspx?ID=41

How To: Simple Tilted Jell-O Shots

For a fresh twist, I added mini titled Jello Pop Shots to the Make It Pop! KSL Studio 5 dessert table.
Here’s how to make them for your own event! Detailed steps written below.
*Choose your glass. The more simple the glass the more dramatic your tilt will look.  I purchased clear mini cordials from Pier One Imports.  You can find them here.
Step One:   Make your first Jello.  You can use a traditional gelatin  or you can spice it up by adding soda pop, alcohol for mature audiences, fruit, or cream.  It’s completely up to you!  Pour first layer of gelatin into glass.  How much gelatin you pour in will depend on what glass you are using as well as how dramatic you want the tilt.  My first layer of jello was approximately 1/4 of an inch.   Once each glass is filled evenly, it’s time to tilt your glasses.  Place each glass in a mini cupcake tin (or regular cupcake tin for larger jellos) being careful that each jello is tilted in the same direction and angle.  Place jellos inside refrigerator and let firm.  Due to their mini size, my jello layers firmed up super quick.  Approximately 15 minutes.
Step Two: Repeat step one using a new flavor of jello and adjusting the tilt of each Jello in your cupcake tin accordingly.
Step Three: Repeat Step one again using new flavor of jello and adjusting the tilt of each Jello in your cupcake tin accordingly.  http://www.loraleelewis.com/blog/?p=16621