This is what I use:
Gum paste
Rolling pin
A pair of fondant smoothers
Cornstarch duster
Small knife
Tylo glue
Veining tool (Jem) (if you dont have such tool, then just use a knife)
Paint brush
Gel paste colors
Round piping tips in various sizes. (circle cutters can also be used)
Tip! If your gum paste is little too soft, then knead in a little tylo powder. This will help the gum paste to thicken and hold its shape.
Step 1:
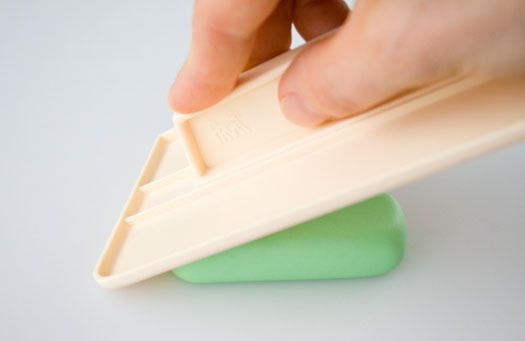
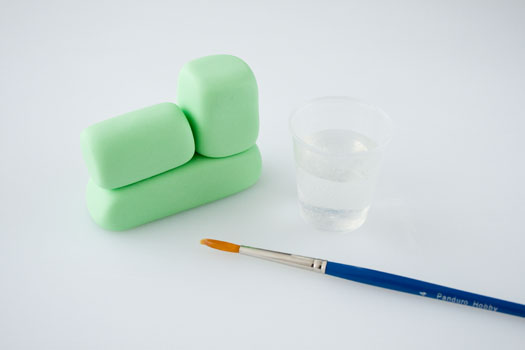
Start by coloring in the gum paste for the trains “body” in your chosen color. Take a piece of gum paste and roll it into a smooth ball without any cracks. Then place the ball on your work table and roll it into a thick sausage about 3″ long. This will be the “base” for the train. Take your pair of fondant smoothers and flatten all the sides.
Step 2:
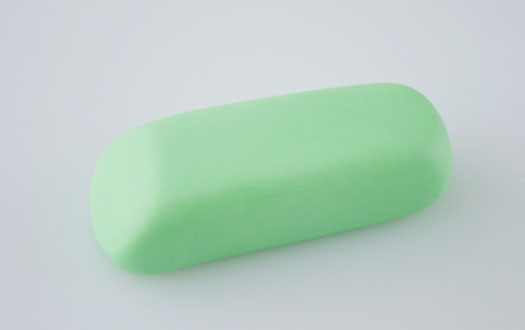
Flatten one of the short ends with the fondant smoother (see photo). Set aside to dry a little.
Step 3:
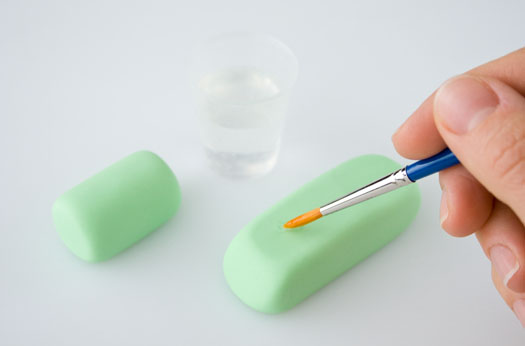
Take another piece of gum paste, again roll it into a smooth ball. Then roll it into a short sausage on your work table. It should cover about 2″ of the “base”. Flatten the ends with the fondant smoothers. Brush a little tylo glue on the “base” and attach the “sausage” on top of the angled end. This will be the front of the train.
Step 4:
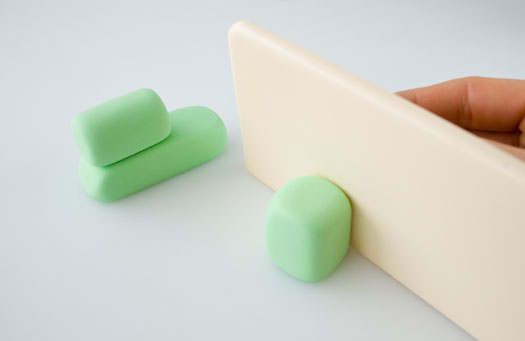
Next, roll another smooth ball of gum paste and form it into a block. It should be slightly taller than the “front” part, and about 1″ wide. Flatten the sides with the fondant smoothers. Attach with a little tylo glue.
Step 5:
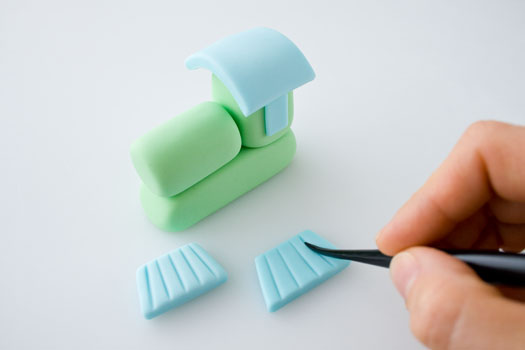
Roll out some gum paste thinly and cut out 2 small windows for each side of the train. Glue them on with tylo glue.
Step 6:
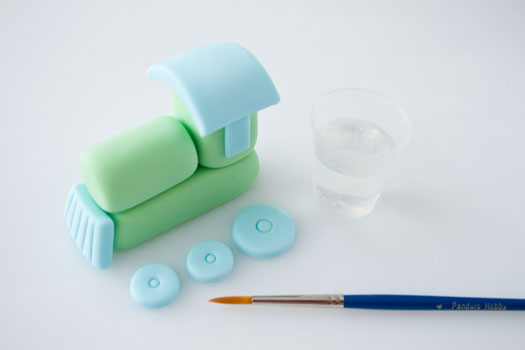
Roll out some gum paste (about 4-5mm thick) and roll it out large enough to cut, both wheels and roof for the train. Find 2 different sizes of piping tips or circle cutters and cut out 1 pair of large and 3 pair of small wheels. I have used round piping tips to emboss the center of the wheels. Set the wheels aside to dry. Then cut out a square piece of gum paste for the roof and glue it on with tylo glue.
Step 7:
Now it is time to decorate the front “base” of the train. Roll out some gum paste (4-5mm thick). Cut a strip of fondant and cut the ends slightly slanted. Next make indentations in the gum paste with either a veining tool or a knife. Glue it on the angle front with tylo glue.
Step 8
Glue on the wheels.
Step 9:
Take a small piece of gum paste. If it sticks to your hands, then rub hands with a little cornstarch. First roll a small ball, and glue it on with tylo glue on top of the train (not shown). Make the chimney by rolling some gum paste into a large pea size ball and then roll it into a cone.
Step 10:
Rub some more cornstarch on your fingers. Slowly pinch the “thick” end of the cone all the way around. While you pinch, press down in the middle of the cone with your index finger. So that it get slightly hollow (see photos) Trim a little of the end, so that the chimney can stand upright. Attach it on the train with a little tylo glue. Set aside and let the whole train dry completely.
Step 11:
If you like, you can make small train wagons aswell for your train cake topper. Make them out of a ball of gum paste, that you shape into a block. Flatten all the sides with the fondant smoothers and attach some wheels.
Tip! It looks very sweet placing birthday candles on the train wagons.
Happy Caking!
Louise











No comments:
Post a Comment